# Link a domain
Users can view your website by entering its content identifier (CID) into their address bar. But, much like IP addresses, CIDs aren't particularly user-friendly or nice to look at. To fix this, we can map a domain name to your CID, so when users visit www.YourDomain.com they'll be forwarded to your site hosted on IPFS. This guide shows you how to map a regular domain name through DNS, and decentralized domains through the Ethereum naming service (ENS) or Handshake.
This section is completely optional, but following it will give you a solid grasp on how to manage domain names with IPFS.
# Domain name service (DNS)
See dnslink.io (opens new window) for explanation and instructions.
# Ethereum naming service (ENS)
The Ethereum naming service (ENS) is a decentralized way to address resources. Like DNS, which converts human-readable names to IP addresses, ENS converts human-readable names such as randomplanetfacts.eth.link to Ethereum addresses. These addresses can then be used to point to CIDs on IPFS. Without going into too much detail, ENS aims to fix some of DNS's problems, mainly man-in-the-middle attacks and scalability. For more information on why DNS is broken, check out Cynthia Taylor's post on recompilermag.com (opens new window).
# Things you'll need
You need these things to get a domain name through ENS:
- The Metamask (opens new window) browser extension installed.
- An Ethereum account with some
ETHin it. - A website hosted on IPFS. If you've been following this tutorial series, you should already have a website and CID ready.
- A cool idea for a domain name!
The price of domain names
The cost of your domain depends on a few things:
- Which domain you want to purchase.
- The current price of ETH.
- The gas fees associated with your transaction.
- How long you want the domain for.
The more years you choose to prepay, the less you will spend on gas fees overall: (1 year + 1 gas fee) < (10 years + 1 gas fee) < (10 * (1 year + 1 gas fee))
# Purchase an Ethereum domain name
Go to
ens.ethusing a browser that supports ENS domains, like Brave or Opera. You can also go to app.ens.domains (opens new window) to use regular DNS and the centralized web.Log in to MetaMask:
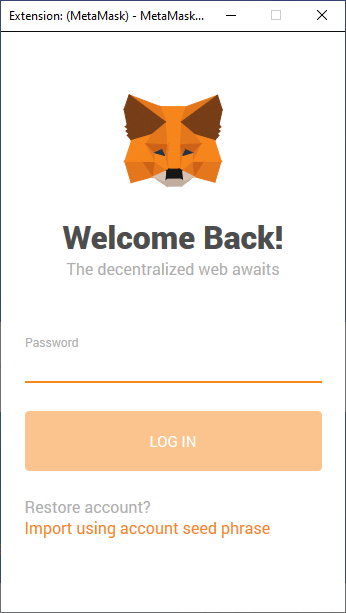
Search for the domain you want to use:
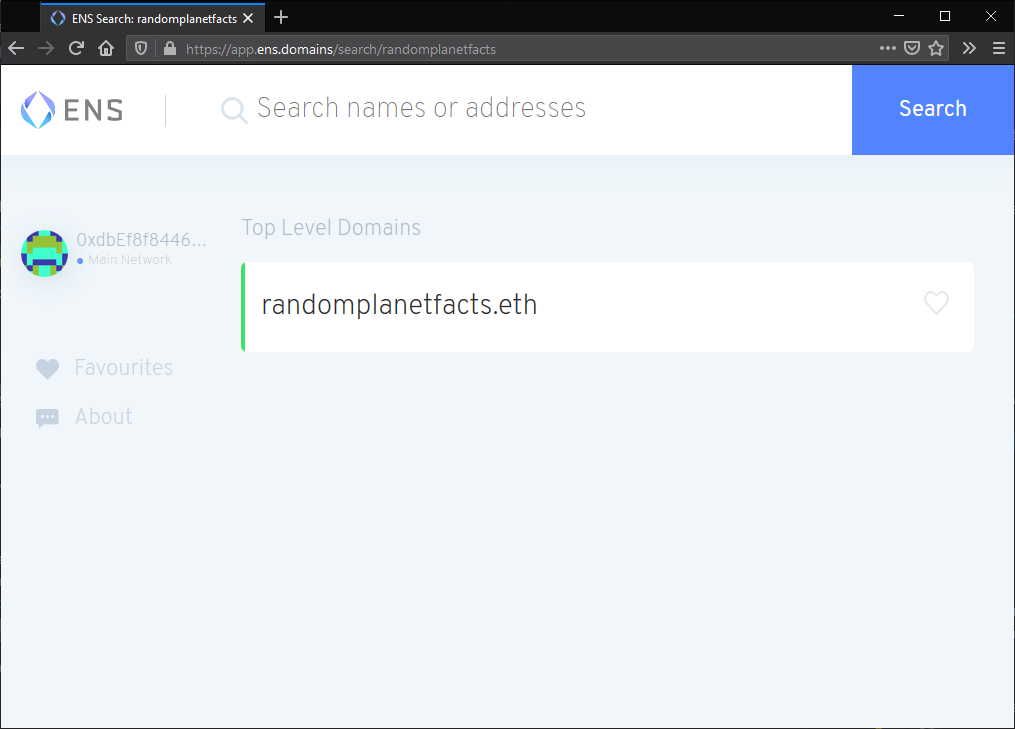
Click on the domain if it's available.
Click Request To Register:
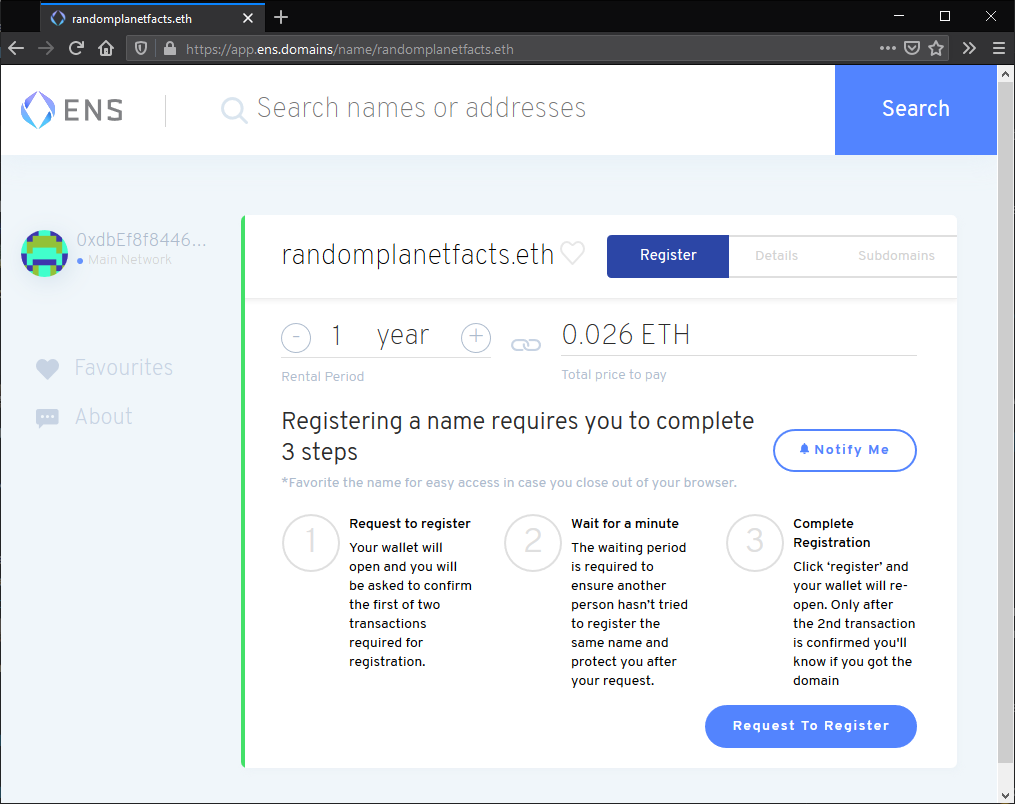
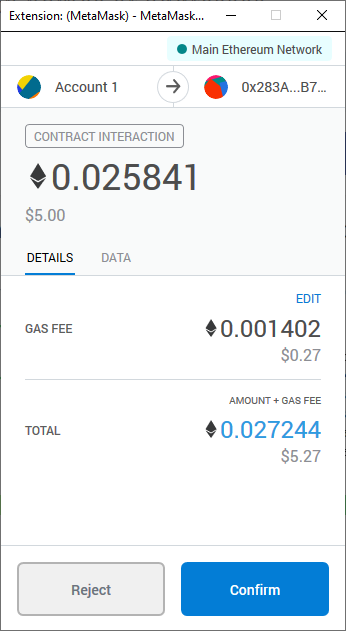
In the MetaMask window that pops up, click Confirm. This action will cost you
ETH.Wait for the Request to register transaction to complete. This process can take a couple of minutes:
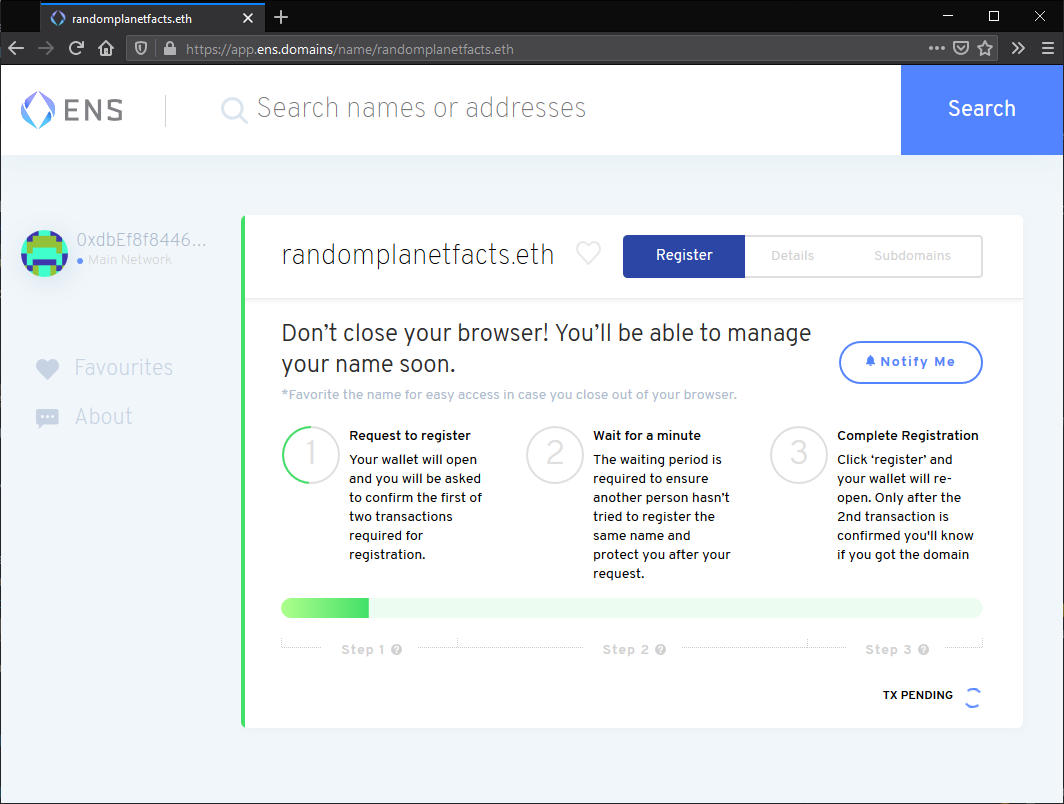
ENS requires that you wait for around a minute once the transaction has been completed. This delay is to make sure there is no-one else attempting to purchase the same domain at the same time as you:
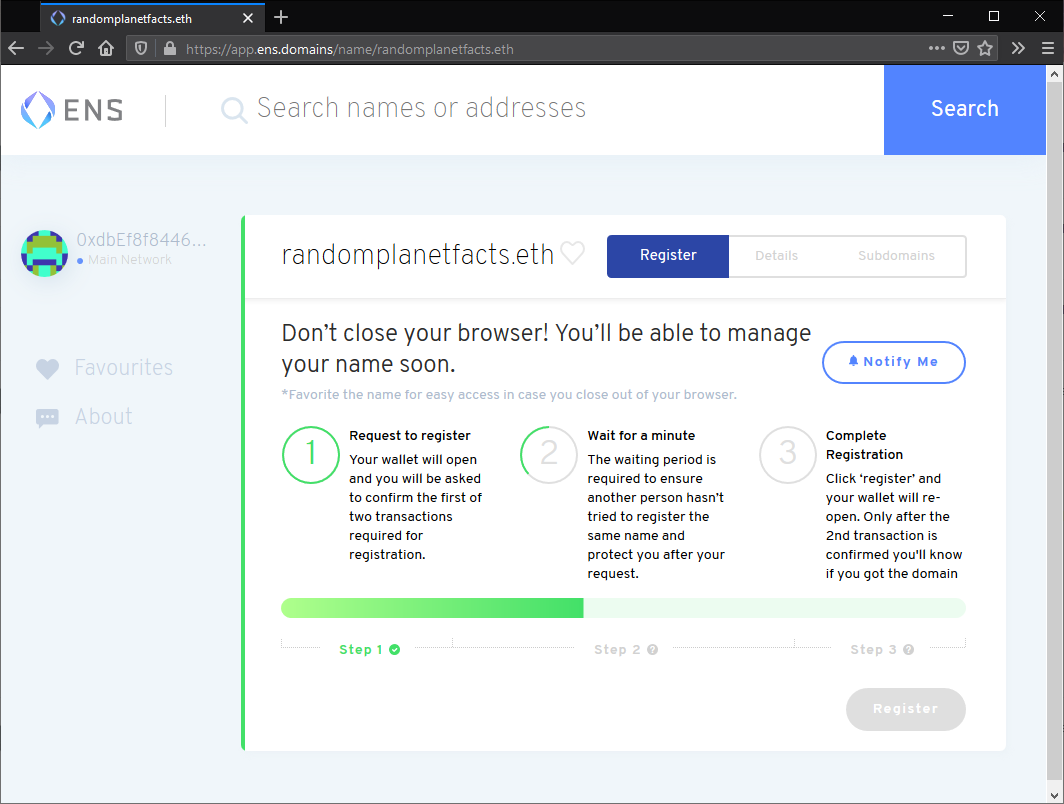
Click Register. Then click Confirm in the MetaMask window that pops up:
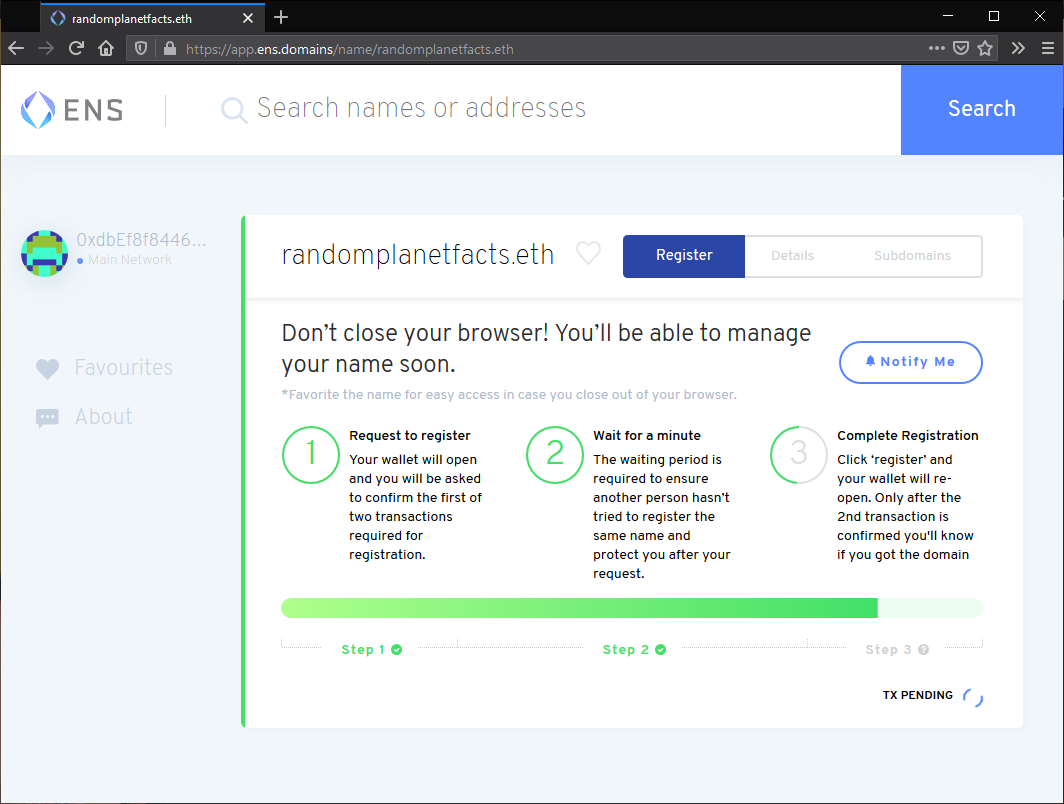
Wait for the transaction to be confirmed. This process can take a couple of minutes:
You should now be able to see all the settings for your
.ethdomain: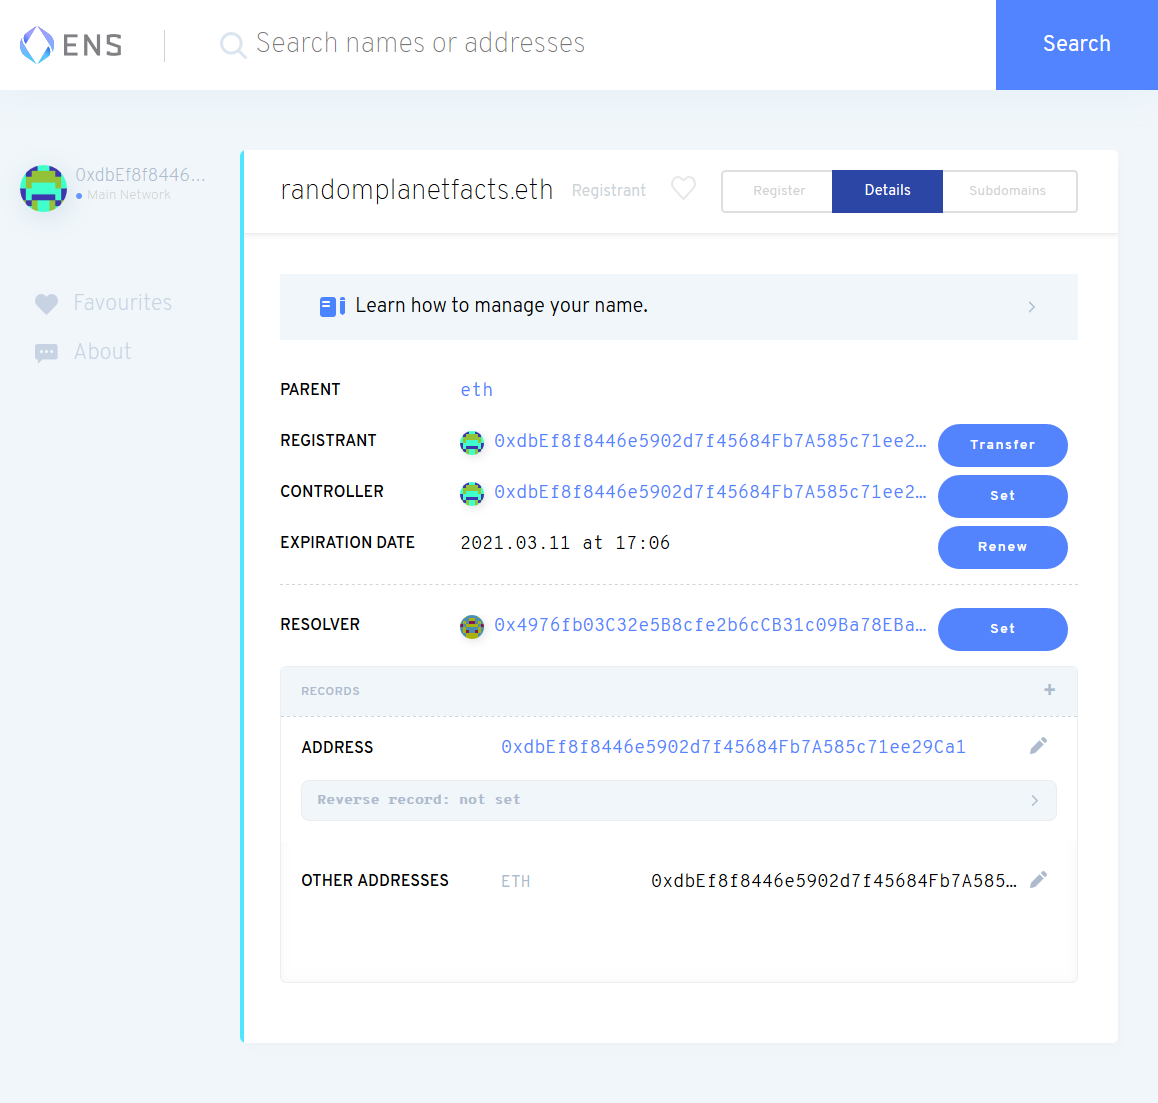
# Link your IPFS content identifier (CID)
Click the plus
+icon next to Records:Select Content from the dropdown:
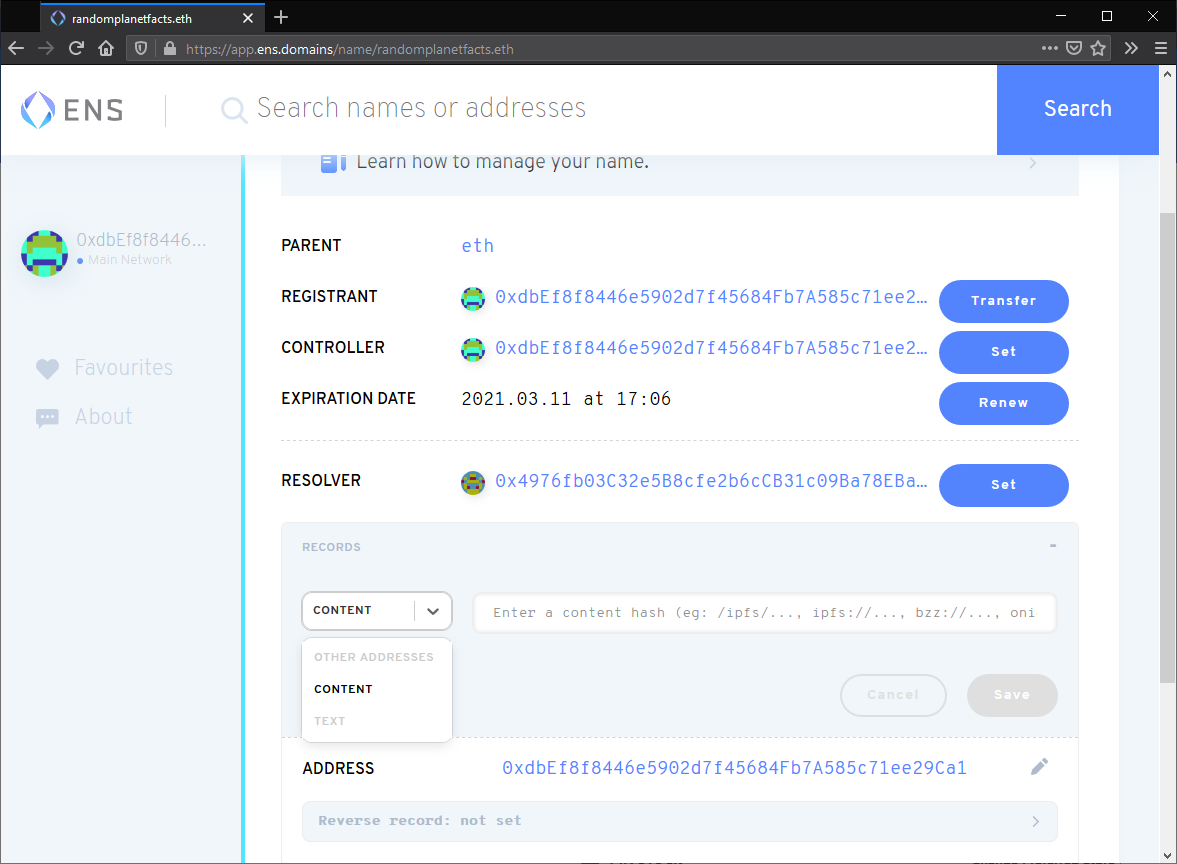
Set the Content text box as the CID of your website, prefixed with
ipfs://: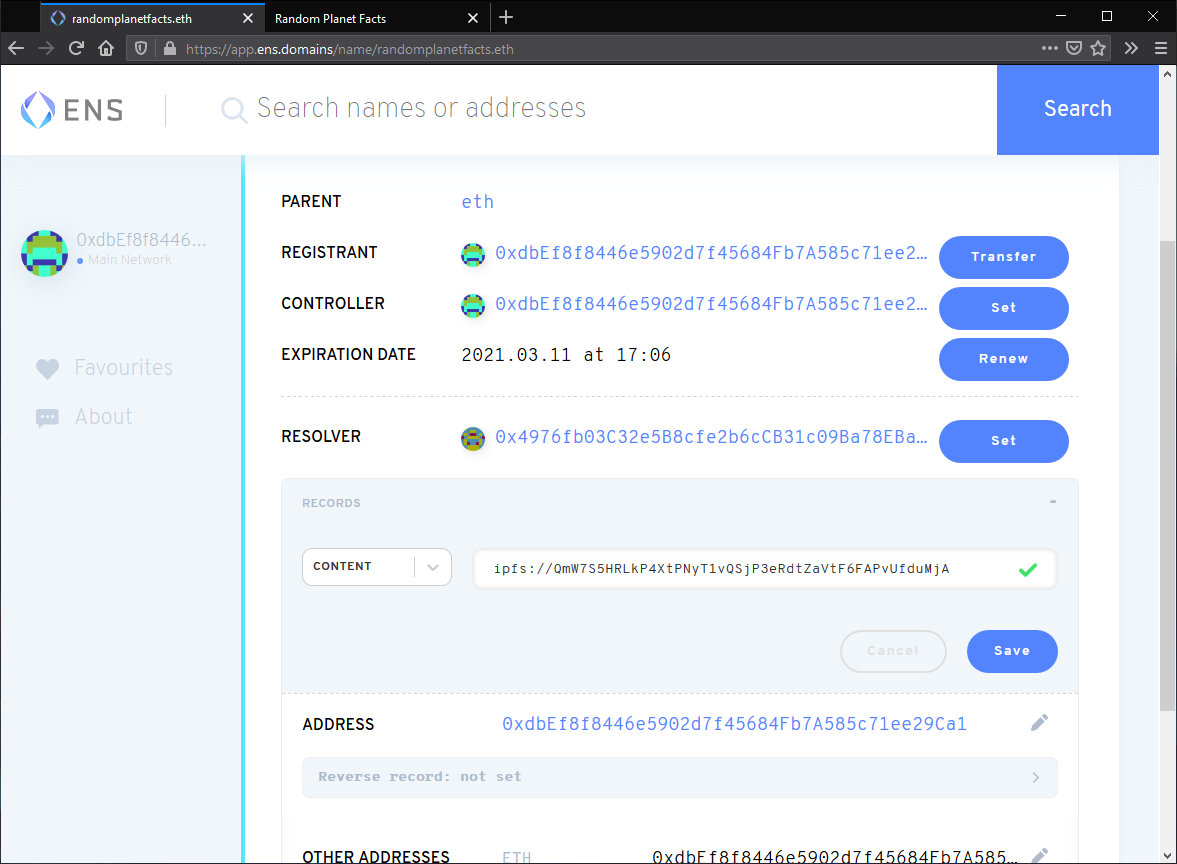
Confirm this change by clicking Confirm in the MetaMask pop-up:
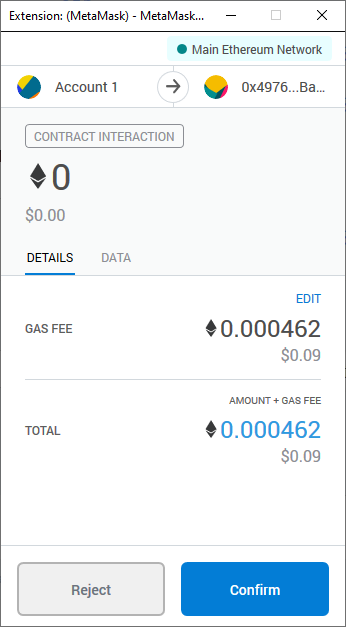
This transaction can take a couple of minutes to complete.
In a few minutes, you'll be able to go to Your_Domain.eth/ and view your website. Note the trailing slash /. Because .eth is not a registered DNS top-level domain, it is normally inaccessible through regular browsers.
Eth.link (opens new window) provides a way for any browser to access your website. Just append .link to your domain. For example, Your_Domain.eth.link. There are no additional steps required for this.
# Handshake
Handshake is a blockchain built specifically for DNS.
When you attempt to visit a website like GitHub.com, your browser will first need to figure out how to get to .com’s servers. To find .com, your browser will consult something called the root zone file — you can think of it like a spreadsheet where Column A are the top-level domains like .com, .net, .org, .io, and Column B are the servers each TLD points to. Controlling the root zone file is a single entity called ICANN, and they alone dictate whether you’re allowed to have a top-level domain.
Handshake is shifting control of the root zone file away from ICANN to a decentralized blockchain. From a practical standpoint, Handshake provides fully decentralized and uncensorable top-level domains that you can own and use for your websites. To learn more, visit the Namebase Learning Center (opens new window).
# Prerequisites
Before we get started, you will need:
- A Handshake domain (opens new window)
- The CID of your website hosted on IPFS
- A way for resolving Handshake domains (opens new window) (to test the setup)
# Bare TLD
- Access your name's DNS records. You're looking for where you can add
ALIASandTXTrecords for your domain. - Create an
ALIASrecord:
a. Set the Host to@.
a. Set the Value toipfs.namebase.io.and notice the trailing dot.at the end ofipfs.namebase.io. - Create a
TXTrecord:
a. Set the Host to_dnslink.
a. Set the value todnslink=/ipfs/SITE_CID, replacingSITE_CIDwith the CID of your website. - Save your changes.
You should now be able to visit your IPFS website at your Handshake domain! If your Handshake name is yourname/, you can visit your website at http://yourname/ (no dots, just yourname/!)
# Subdomain
If you want to create your website on a subdomain rather than a bare TLD (e.g. sub.yourname/ vs. yourname/), follow these instructions instead:
- Access your name's DNS records. You're looking for where you can add
CNAMEandTXTrecords for your domain. - Create a
CNAMErecord:
a. Set the Host tosub, replacingsubwith your desired subdomain name.
b. Set the Value toipfs.namebase.io.and notice the trailing dot.at the end ofipfs.namebase.io. - Create a
TXTrecord:
a. Set the Host to_dnslink.sub, replacingsubwith your desired subdomain name.
b. Set the value todnslink=/ipfs/SITE_CID, replacingSITE_CIDwith the CID of your website. - Save your changes.
You should now be able to visit your IPFS website at your Handshake domain! If your Handshake name is sub.yourname/, you can visit your website at http://sub.yourname/
TIP
If you prefer to use Handshake-powered DNSLink with your custom gateway, run ipfs daemon with config that has a Handshake resolver enabled for your domain: ipfs config --json DNS.Resolvers '{ "yourname": "https://query.hdns.io/dns-query" }. Learn how to run a self-hosted, site-specific DNSLink gateway from gateway recipes in go-ipfs config docs (opens new window).
# Up next
In the next tutorial in this series, we'll take a look at a tool that will help make this whole process easier: Fleek.
